Showing posts with label quest. Show all posts

Friday, 16 October 2015

Sword of the Reaper


I was also asked to build a sword for the Terry Prachettes Death character for use in Brisbane Arts Theatres 'Mort'
This had to take blows in fight scenes so I used a piece of Spotted Gum decking board as its super strong and often used for training swords . 


Cut the main shape with hand saws and a plane
Then more detail with a rasp file 

Fuller was cut with an angle grinder then hand sanded 
Cross bar was supposed to look like a part of a rib cage but due to the type of wood used it wasn't going to hold its shape without splitting so I had to modify the end product.

The sharp end points were very weak so went with a more standard looking shape.

 Always super neat with my tools.
 There was quite a tight deadline for this one so instead of carving a hardwood handle I just used a piece of bamboo. Probably not the best choice as its not the strongest but hope it works.
For the skull I was going to sculpt one and make from TC-808 but due to the deadline I just went and found one at a cheap shop for $12. It had a bird on its head so I had to cut that off and fill with a plaster type material for weight. Then wrapped the twine for the grip.

Quite late in the day I realised it had to be painted and spotted gum is very high in oil content.
So I had to buy a special acid bath wash for it to strip the oils from the blade. Then a solid undercoat of special sealer.
 Not really having much experience in this field I ended up using an enamel silver, which takes days to dry and never really hardens up. I should have probably used an acrylic base but was not to sure about chipping when hit on stage.

The Finished Product. .  well..  almost.
After the first dress rehearsal, I received a call where it was explained that the sward also gets thrown across the stage and hits the floor/walls etc. and also is stood on to prevent Death from picking it up. The result.. a shattered pommel. I originally made it with a plaster filler and thought " this will do the trick as long as it doesn't hit the deck"  ha. 
So now I have about 3 days to get a new skull made that can handle the heavy blows it receives every night of the show for a few months.
 I hot glues it back together as best I could then used  expanding foam to fill the gaps as its easily sanded and sets fast.
Then off to Barnes products to grab some casting gear. Back to original Idea, cast a skull from TC-808. this stuff should take the impact.

 The skull after a sanding, then I covered in plaster and painted to make smooth.

Using Pinkysil, a silicon base 2 part casting product to take the copy of the skull  
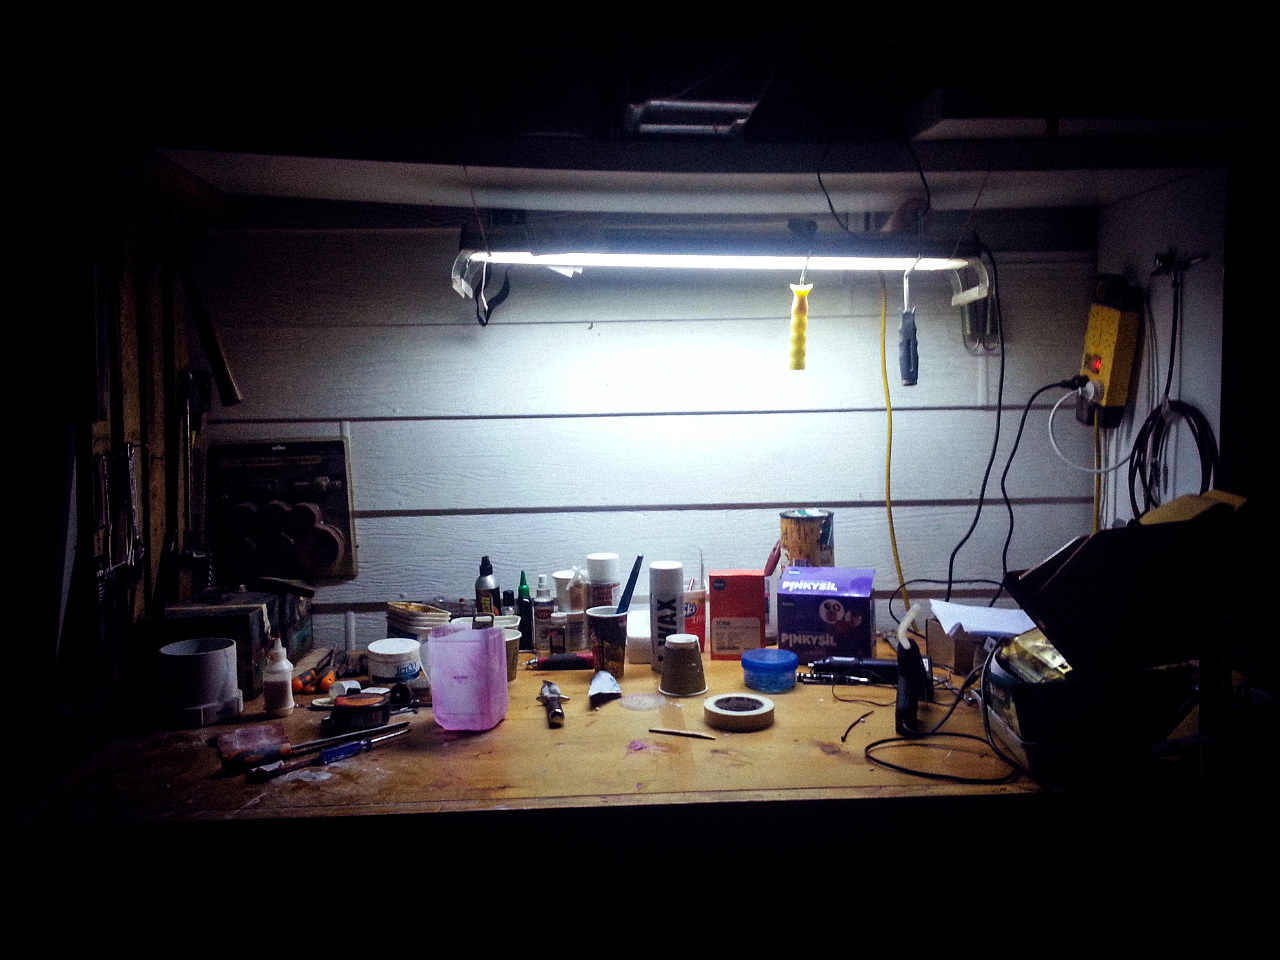
 The new work bench severing me well.

I had to cut the mould down a bit to make it flex enough to pop out the original skull.
 Now with the TC-808. I remember this stuff from years ago when I used to make RC car parts with it. Nice and strong.
 Skull copy
 When I got the sword back Scott  the props and sets guy from Brisbane Arts theatre had replaced the handle with blue and black rope which looks much better. I didn't realise that the small string detail I used would be lost in the distance from audience to stage. So thicker rope works well, and the blue better suits the character.
 Back filled with expanding foam then airbrushed to cover. The back of the skull is thicker on the mould to take the weight of the actress standing on it.
The new skull. 
The final piece looking a bit worn, but in the end lasted till the final show...  Almost.
Quest completed .

Wednesday, 29 July 2015

Quest of the Wooden Dagger

wooden dagger
For the first project I wanted to jump straight in and build one of Geralts silver swords from The Witcher 3 LOL, crazy I know, so I thought I should do a bit of research first.
Looking into building a forge and the tools I would need, I came across one piece of very useful advice . "Everyone wants to jump right in and make a sword but this is one of the most advanced things you can do with metal"  hmm sounds about right.
I found a large amount of info on Anvil Fire which recommends starting with a simple wooden dagger, only after assessing the reason you want to make a sword in the first place.


wooden dagger layoutIn the early days of Skyrim you smith quite a few basic daggers so this is a perfect place to start.
I had a day off work so decided to get to it. I had limited tools scattered about the place and the only wood available was this off-cut from the new deck, which I measured and marked a rough shape of the basic dagger.

Halving the block
The decking board was a tad too thick so had to split it in half using the old hand saw.

Halved decking board

Successfully halved. Time for shaping

Cutting the basic shape with a hand saw
I used the hand saw to roughly cut the shape.

Shaping the blade edges with a file
And old rusty files for the blade  (need to get some new ones asap)

Fine tuning the blade and guardLooking more like a dagger, I also cut a guard out of a piece of scrap, which I totally mangled, but its a learning process. Better to mangle the wooden ones before moving into steel. Also made sure I had nice rounded corners where the tang meets the blade for strength.

Despite the mangled guard, it still fits nicely, just not ultra tight.

Cutting a fuller into the bladeI originally wanted to add a fuller down the centre of the blade but really didn't know how. I would like to avoid the use of power tools but for this I had to resort to using a grinder to cut the basic scoop then sand the rest by hand.

Shaping the dagger handleNow for the hilt. I was never intending on making a separate pommel for this basic piece so I made the hilt as one. For this I used a piece of pine kindling from our wood fire pile. Rough as guts and I dont have a lathe. So hand carving it is.

Fine tuning the dagger handleOnce I drilled the hole (again with a power drill) I began the blind task of carving . Note. I've never carved wood before. Ever. Its very relaxing, as I didn't notice the 2 hours pass as I shaped the piece.

Just making sure it fits.. Nice and tight, and ready for more accurate shaping.

Almost finished the wooden dagger
I just couldn't work with those old rusty blunt files any longer so went off to the hardware for some new ones. I had a limited budget so just grabbed a cheap pack which contained a few various large files and about 5 or 6 little ones. After 2 hours of cutting and filing its starting to look more like a dagger.

A finished basic wooden dagger
After another hour or so worth of sanding and left to dry over night after being glued together. I applied a final coat of oil and there's the final product. I'm quite happy for a first attempt. I've used techniques I've never used before which took a lot of forethought and patience. I mangled a few things but I'm now aware of the process for next time. The blade is nice and straight which was probably the hardest part. And its sharp enough to slice paper.

Quest of the Wooden Dagger: Achievement unlocked.

Total Time: about 12 hours over 3 days.